Enclosure
Review or Change an Enclosure
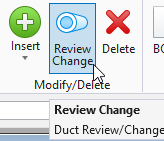
- From the Modify/Delete section of the Duct Tab select the Review/Change command:
- Select an enclosure to review or change.
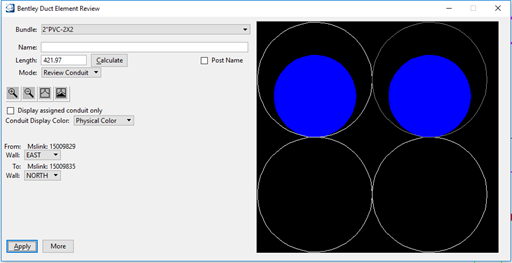
- The Duct Element Review dialog box opens.
- Key in a unique Name and Description for the enclosure.
- Activate the Post check box to post the enclosure information on the map.
- Select the wall to be reviewed by selecting a wall in the Wall pull-down menu.
- Activate the Display assigned conduit only check box to hide conduit not already assigned from the display window.
- Select the conduit color from the Conduit Display Color list box.
- Click Apply to confirm and save changes.
Attach a Document to the Enclosure
- From the Attachment section, click Show to view the list of attachments assigned to this enclosure.
- If there are no documents attached to the enclosure, the following Information dialog box displays.
- Click OK to exit.
- Select the Edit button under the Attachment section.
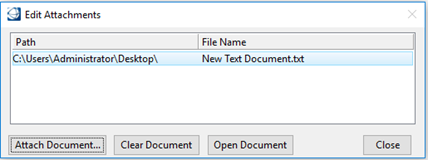
- The Edit Attachments dialog box opens.
- Click the Attach Document button.
- The Attach Document - C:\Bentley... path opens.
- Select the image or document and click Enter.
- Click Show to open the attached document.
- The Attach Document dialog box closes and the image or document moves to the Edit Attachments dialog box.
- To enter additional images or documents, re-select the Attach Document button.
- Click Close to exit.
- Click Apply to save the additions.
- Click the red X to close the Bentley Duct Element Review dialog box.


Change or Clear a Document Attached to an Enclosure
- From the Attachment section, click the Show button.
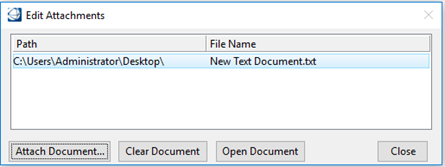
- The Edit Attachments dialog box opens displaying the list of documents attached to the enclosure.
- To attach additional documents to this enclosure, select the Attach Document button.
- To delete the attachment from the enclosure, highlight the document from the list and select the Clear Document button.
- To view the document attached to the enclosure, highlight the document from the list and select the Open Document button.
- Select Close to exit the Edit Attachments command.
Move the Bundle on the Wall
- Key in the Depth and Offset in the appropriate field.
- Click Move.
- The bundle moves to the new position. It is also possible to move individual conduit just by selecting it on the display window and reassigning it a new position. To make the conduit re-join the bundle, click the Re-Join button or just click the Move button.
Move a Conduit to Another Wall
- Select the conduit on the display window.
- Click Change Wall.
- The Move To Wall dialog box opens.
- Select the destination wall and click OK to proceed.

Attach or Clear a Document for Each Wall
- From the Wall Attachment section, click Edit to attach or clear a document attached to the current wall.
- The Edit Attachments dialog box opens displaying the list of documents attached to the wall.
- To attach additional documents to this wall, select the Attach Document button.
- To delete a attachment from this wall, highlight the document from the list and select the Clear Document button.
- To view a document attached to this wall, highlight the document from the list and select the Open Document button.
- Select Close to exit the Edit Attachments command.
Change the Custom Attributes of an Enclosure
